How to Use Notion for Content Calendar Planning and Scheduling
Notion is one of the most versatile tools for content calendar planning and scheduling. Instead of juggling spreadsheets, Trello boards, and Google Docs, you can centralize your entire content workflow in Notion. With databases, calendar views, and automation, you can plan weeks of content, track deadlines, and collaborate with your team—all in one place. This guide shows you exactly how to set up a Notion content calendar from scratch, including templates, workflows, and pro tips to boost your productivity.

Photo by MART PRODUCTION on Pexels
## Why Use Notion for Your Content Calendar?
Notion offers unique advantages over traditional tools:
- Flexibility: Combine databases, tables, and calendars in one workspace
- Collaboration: Assign tasks, leave comments, and track progress in real-time
- Automation: Use formulas, rollups, and linked databases to reduce manual work
- Customization: Build exactly what you need—no rigid templates
## Step 1: Set Up Your Content Calendar Database
Start by creating a new database in Notion. This will be the backbone of your calendar.
### Create the Database
1. Open Notion and click + New Page
2. Type `/database` and select Table or Calendar view
3. Name it Content Calendar
### Add Essential Properties
Add these columns (properties) to your database:
| Property | Type | Purpose |
|---|---|---|
| Title | Text | Content title or topic |
| Status | Select | Idea, Draft, Review, Scheduled, Published |
| Publish Date | Date | Scheduled publication date |
| Content Type | Select | Blog, Social, Video, Newsletter |
| Author | Person | Team member responsible |
| Platform | Select | Website, LinkedIn, Twitter, YouTube |
| URL | URL | Link to published piece |
| Notes | Text | Internal notes or brief |
Pro Tip: Use Select properties for Status and Content Type so you can filter and sort easily.
## Step 2: Choose Your Calendar View
Notion offers multiple views for your content calendar. Here are the most useful ones:
### Calendar View
- Best for visual planning
- Drag and drop content to reschedule
- Color-code by status or content type
### Board View
- Organize by status (Idea → Draft → Review → Scheduled)
- Drag cards across columns to update progress
- Great for Kanban-style workflow
### Table View
- See all details in a spreadsheet layout
- Filter by author, platform, or date range
- Export to CSV if needed
To add views: Click the + next to your current view name and select the desired layout.

Photo by Zen Chung on Pexels
## Step 3: Automate Your Workflow with Formulas and Rollups
Notion’s power lies in automation. Use these features to save time:
### Formula: Days Until Publish
Create a formula property to calculate days until publication:
“`
dateBetween(prop(“Publish Date”), now(), “days”)
“`
This shows you how many days remain—helpful for urgent deadlines.
### Rollup: Count Content by Author
If you have a separate Authors database, link it to your content calendar. Use a rollup to count how many pieces each author has scheduled.
### Linked Database: Centralize Ideas
Create a separate Content Ideas database with properties like Topic, Keywords, and Priority. Link it to your calendar database so you can convert ideas directly into scheduled posts.
## Step 4: Daily and Weekly Scheduling Routine
Consistency is key. Here’s a simple routine:
### Weekly Planning (30 minutes)
1. Review your calendar view for the upcoming week
2. Drag any overdue items to new dates
3. Assign tasks to authors or team members
4. Add new ideas from your linked Ideas database
### Daily Check (5 minutes)
1. Open your Calendar View filtered to today
2. Check the Status of each item
3. Update Notes with progress or blockers
4. Mark completed items as Published
Pro Tip: Use Notion’s Reminders feature to get notifications for upcoming deadlines. Click a date property and select Remind me.
## Step 5: Advanced Features for Power Users
Once you’re comfortable, try these enhancements:
### Templates for Recurring Content
Create a database template for recurring content types (e.g., weekly newsletter). Pre-fill properties like Content Type, Platform, and a checklist of tasks.
### Relations with Other Databases
Link your content calendar to:
- Editorial Calendar (for long-term strategy)
- Social Media Queue (for cross-platform posting)
- Resource Library (for images, templates, and assets)
### Public Sharing
If you work with freelancers or clients, share a read-only view of your calendar. Go to Share → Copy link → Set permissions to Can view.
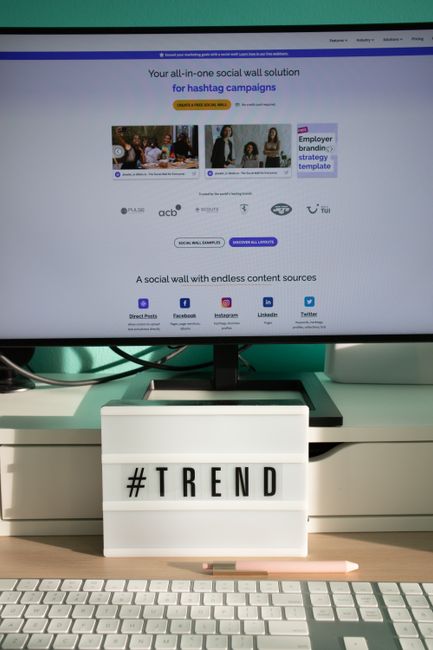
Photo by Walls.io on Pexels
## Comparison: Notion vs. Traditional Tools
| Feature | Notion | Spreadsheet | Trello | Asana |
|---|---|---|---|---|
| Calendar View | ✅ Native | ❌ Manual | ✅ Power-Up | ✅ Paid |
| Database Relations | ✅ Native | ❌ No | ❌ No | ✅ Limited |
| Custom Properties | ✅ Unlimited | ✅ Limited | ✅ Limited | ✅ Good |
| Automation | ✅ Formulas | ❌ Macros | ✅ Butler | ✅ Rules |
| Collaboration | ✅ Real-time | ✅ Real-time | ✅ Real-time | ✅ Real-time |
| Cost | ✅ Free plan | ✅ Free | ✅ Free | ✅ Free tier |
Winner: Notion offers the best balance of flexibility, customization, and cost.
## Common Mistakes to Avoid
- Overcomplicating: Start with just 5 properties—add more later
- Ignoring Views: Use at least Calendar and Board views for different tasks
- No Backup: Export your database monthly as CSV
- Skipping Templates: Spend 10 minutes creating a template—it saves hours
## Real-Life Example: A Weekly Blog Schedule
Here’s a numbered list of steps for a typical blog content workflow in Notion:
1. Monday: Brainstorm 3 topic ideas in the Ideas database
2. Tuesday: Convert one idea to a calendar entry, set Status to Draft
3. Wednesday: Write the draft, update Status to Review
4. Thursday: Assign to editor, change Status to In Review
5. Friday: Get feedback, make edits, set Status to Scheduled
6. Saturday: Publish, add URL, set Status to Published
## Conclusion
Using Notion for content calendar planning and scheduling transforms chaos into clarity. With databases, views, and automation, you can manage your entire content workflow—from idea generation to publication—in one unified space. Start simple, add features as you grow, and watch your productivity soar.
Ready to take your content planning to the next level? Visit notionkit.tech for ready-to-use Notion templates, including a pre-built Content Calendar system with automation, templates, and views already set up. Download now and start scheduling smarter today.