Project Management in Notion: Step by Step
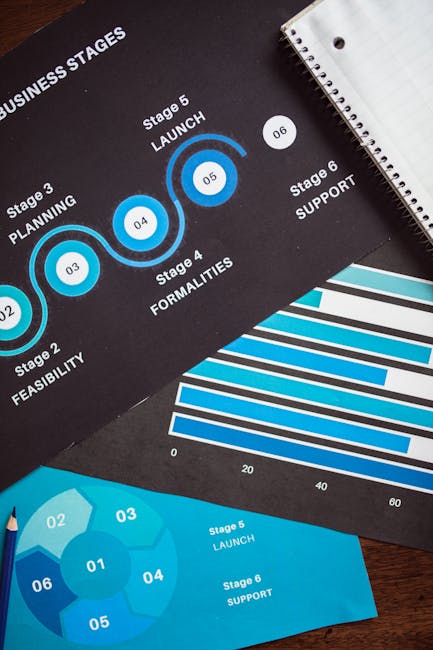
Photo by RDNE Stock project on Pexels
Can Notion Really Replace Dedicated PM Tools?
When teams think of project management software, names like Asana, Monday.com, and Jira usually come first. Notion, by contrast, is often seen as a note-taking app. But the truth is that Notion’s database engine, combined with its flexible page system, can handle most project management workflows — especially for small to medium-sized teams and solo entrepreneurs.
This step-by-step guide walks you through building a complete project management system in Notion from scratch. No coding required. No paid add-ons. Just native Notion features configured the right way.
Step 1: Create Your Project Database
Start with a single database called “Projects”. Create a new database (either inline or as a full page) and add these properties:
- Status — select property with options: Not Started, In Progress, In Review, Completed, On Hold.
- Priority — select: Critical, High, Medium, Low.
- Deadline — date property.
- Owner — person property (or text if you’re solo).
- Timeline — date range (start date to end date) for Gantt-style views.
Set the default view to Board view grouped by Status. This gives you a Kanban board instantly. Add a second Timeline view for Gantt chart visualization of project durations and dependencies.
Step 2: Build the Tasks Database
Projects are made of tasks. Create a second database called “Tasks” with:
- Task Name — title property.
- Status — select: To Do, Doing, Done.
- Project — relation property linking to the Projects database.
- Assignee — person or text property.
- Due Date — date property.
- Estimated Hours — number property.
- Tags — multi-select for labels like “design,” “development,” “research.”
Now the magic: inside each project page, add a linked view of the Tasks database filtered to show only tasks related to that project. This means every project page automatically displays its own task list without manual filtering.
Step 3: Set Up Rollups for Progress Tracking
Rollups are Notion’s superpower for project management. In your Projects database, add these rollup properties:
- Total Tasks — rollup of Tasks → Count all.
- Completed Tasks — rollup of Tasks → Count where Status is “Done.”
- Progress % — formula: (Completed Tasks / Total Tasks) x 100. Display as a progress bar.
- Total Estimated Hours — rollup of Tasks → Sum of Estimated Hours.
With these rollups, your project board shows real-time completion percentages and workload estimates. No manual status updates — just accurate data driven by task completion.
Step 4: Create a Team Dashboard
A dashboard page gives everyone a bird’s-eye view. Build it with these sections using linked database views:
- My Tasks This Week — Tasks filtered by assignee (use “Me” filter) and due date this week, in Board view.
- Active Projects — Projects filtered by Status ≠ Completed, in Timeline view.
- Overdue Items — Tasks where Due Date is before today AND Status is not Done, highlighted in red.
- Upcoming Milestones — Projects with deadlines in the next 14 days, sorted by date ascending.
Each section is a live filter of your databases. When you update a task status, the dashboard updates instantly.
Step 5: Add Documentation and Meeting Notes
Project management isn’t just about tasks. You need space for requirements documents, meeting notes, design specs, and retrospectives. Create a “Docs” database with properties for Project (relation), Type (select: meeting note, spec, retro, brief), and Date. Each doc page lives inside Notion’s rich editor with headings, images, code blocks, and embedded files.
Link each doc to its project via the relation property. Then add a linked Docs view to each project page. Now every project has its tasks, docs, and notes in one place.
Step 6: Automate with Templates and Buttons
Notion’s button feature (introduced in 2023) lets you automate repetitive actions. Create buttons that:
- Create a new task — pre-fills the project relation and status.
- Start a sprint — creates a set of tasks with default due dates.
- Archive completed projects — moves project status to Completed and archives all done tasks.
Combine buttons with database templates. For example, a “Bug Fix” task template auto-populates the priority as Critical and the tags as “bug.” This ensures consistency across your team.
When Notion Isn’t Enough
Notion’s project management system works brilliantly for teams of up to 20 people. Beyond that, you may miss features like native time tracking, Gantt dependency arrows, advanced permissions, and detailed reporting. In those cases, use Notion as the documentation and planning layer and integrate with a dedicated PM tool via API or Zapier for execution tracking.
Start Today with a Template
Building a PM system from scratch takes about an hour. If you want to skip the setup, notionkit.tech offers a ready-to-duplicate Project Management template with all databases, rollups, dashboards, and templates pre-configured. Duplicate it, rename the sample projects, and you’re running in five minutes.